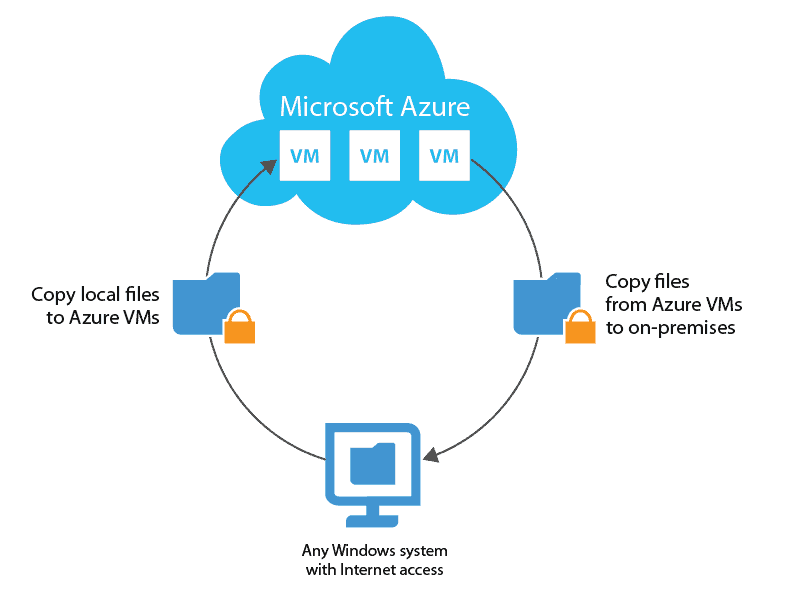
Direct Restore to Microsoft Azure is a new feature in Veeam Backup & Replication v9.5 that allows you to directly back up or replicate to Azure from your local on-premises Veeam environment. Before, there was a beta Veeam plugin to do this but it is now directly integrated in the Veeam software.
This is a good option to replace your offsite copy of your backup data that you’d ordinarily store in a colo or separate location that you manage. You can also do full replication to Azure, which will allow you to test and move workloads if you want to start pushing cloud adoption. Veeam does the heavy lifting of converting your current on-premises VMs to a workable cloud format in Azure. Of course, you need a fully enabled Azure subscription before you can use this feature. You won’t be able to get an Azure subscription through the Veeam UI, so get that set up and have the account information ready to plug into Veeam.
Restoring Workloads to Azure
This is a great feature to have in the event that your onsite infrastructure cannot serve your organization (due to a disaster of some kind). You can do a direct restore to Azure and then run those services from the cloud. This process is no different than doing an onsite restore — you just now have an Azure option that allows you to choose your deployment model, your Azure subscription, your VMware size, and resource group/network.
Workload Migrations and Test Environments
Getting the cloud itch? You can migrate some of your actual production machines to Azure and set them up to for testing or labbing. You can also test patches and updates within Azure if you don’t have an onsite lab. This works very much like replication, but now there’s an Azure option.
Bear in mind, if you’re playing around with your VM backups in Azure, consult the VM price list first so you know what Microsoft will be charging you. This goes double for what it would cost you if you have to fail over to Azure. The costs are hourly, but you can restructure the payments to monthly.
Veeam by default has everything left in a stopped/deallocated state to prevent Microsoft from starting that clock to charge you.
System Requirements
Veeam Direct Restore to Azure supports restoring backups from:
- Veeam Backup & Replication v9.5
- Veeam Backup Free Edition
- Veeam Agent for Windows 1.1+ (this includes Veeam Endpoint Backup FREE)
- Veeam Agent for Linux
And, of course, an Azure subscription. It supports both VMware and Hyper-V VMs.
Setting Up Your Azure Subscription for Veeam Direct Restore to Microsoft Azure
You must have Microsoft Azure PowerShell components installed on your Veeam server first and foremost. The Veeam wizard should scan your server for these components and if you don’t have them, it will give you a link to install them. After installing these components, close and reopen the Veeam console and restart the Azure setup wizard.
The above is what the Veeam Azure Accounts wizard looks like. Go to Manage Azure Accounts to start adding your Azure subscription information in.
By the way, you can add in more than one Azure subscription, as demonstrated above.
First, Veeam is going to ask you what Deployment Model you want. You should always use Azure Resource Manager, which is the recommended one. The Classic Azure Model is deprecated, so don’t make anything using that interface.
Next, pick your previously designated subscription account.
If you use Linux VMs, it’s very important to check that box at the bottom under “Linux support,” and it’ll take you a wizard to set up a Linux-Azure proxy that you will need when restoring your VMs. This does count as an active Azure machine, but to save you money, Veeam will keep it in a stopped/deallocated state until you start the restore process. It will run for a short amount of time during configuration and then Veeam will turn it off.
That is all that you need to link up your Azure account to your Veeam console. You’ll notice that when you go to restore or to set up a backup job, you will have some new Azure options in the wizard that were previously not available.
We highly recommend having an Azure proxy to help facilitate the backup and restore process. This is very much like a proxy that you have onsite to optimize your data movers. You can deploy a preconfigured Azure proxy through the Backup Infrastructure window in your console, much like you would do for any other proxy:


